Showing posts with label Paper Crafts. Show all posts
Showing posts with label Paper Crafts. Show all posts
Wednesday, November 7, 2007
a few more $ envies
here are a few more of the money envies made. Love that Outlaw paper from SU! The floral paper is one that I found at my local M's. tfl
Tuesday, November 6, 2007
Card Envelopes


I've been really busy. The craft fair that i have been getting ready for is this coming weekend. There is still so much left to do...and not enough time to do it all.
This is an easy and fun project to do. It's a card envelope...perfect size for that cash gift or for enclosing a check.
One sheet of 12 x 12 designer paper and 4 pieces of 8 1/2 x 11 card stock will make 4 envelopes.
First start by cutting your card stock so that it is 8" x 7 ". Place your paper so that the 8" is across the top in your paper cutter. Slide your paper to the right so that the end is at the 6 1/8 " and score...slide your paper to the right again so that the end of the paper is at the 3" line and score again. Set this aside.
cut your designer paper 6 3/4 " by 2 3/4 ". This will be your cover on your envelope. With adhesive place the designer paper onto your card stock so that it is on the end that is 3". Fold your card up so that the dp is on the outside and the smaller flap is on the inside. I used a 1 3/8" circle punch to make a notch on the smaller flap.
If you would like the inside of your card to have a finished look, but a piece of coordinating card stock 6 3/4 " x 2 3/4 " and stamp with a sentiment.
For the band around the envelope cut your card stock 7" x 1 3/8 ". Cut a piece of dp 7" x 1 1/4". with adhesive layer your dp on top of your card stock. This will be your band to go around the envelope. Fold your layered band around your card envelope so that both pieces meet in the front of the card. glue together. and then decorate...i used the SU scallop punch, 1 3/8 " circle punch and the 1 1/4" circle punch. Layered all the circles and then decorated the center with a prima flower and a brad. Use a dimentional to attach to the band. Slide the band onto the card and your done. Clear as mud! LOL! Thanks for looking.
Subscribe to:
Posts (Atom)
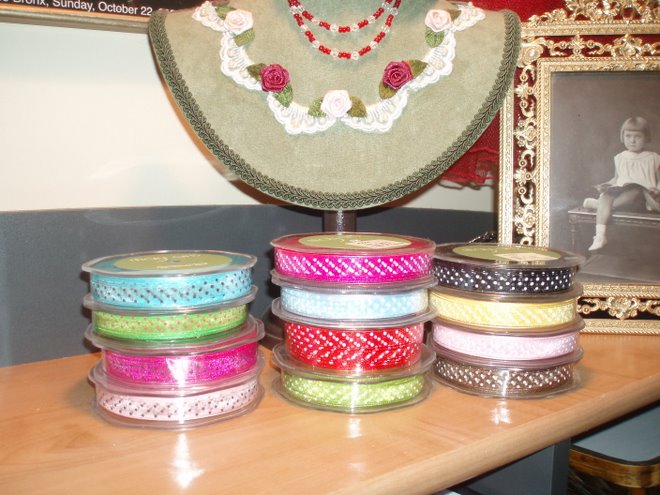
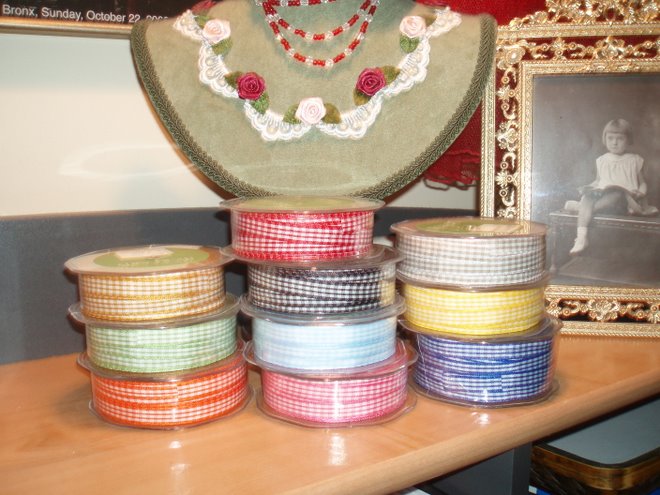
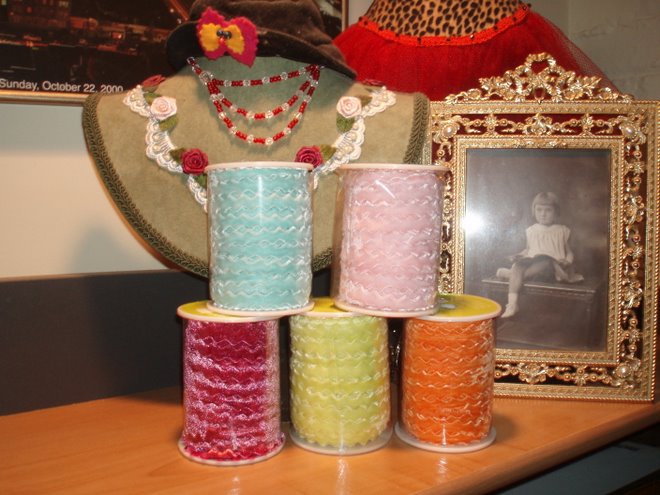
May Arts Ribbon
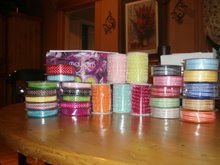
A few of my favorite things